


Stop! Don't throw out the leftowvers just yet. Did you know that you can use your left over fruits and vegetables to grow more fruitd and vegetables? In this blog I will name a few of thes vegetables. I will tell you how to regrow Celery, Sweet Potatoes and Pineapple from the pieces that you might usually toss in the trash.
Celery: Take the bottom of the celery you cut off and soak it in warm water for about 24 hours. Next plant it in fertile soil with the cut side up. Water Daily. in about 1-2 weeks you should start to see the tops of baby celery.
Sweet Potatoes: To grow a sweet potato is all you need is the end of one of your old sweet potatoes. Cut off the end of the potato, place toothpicks around the outside of the potato and submerge the tip in water allowing the toothpicks to support the remainder of the piece of patato above the water. Palce the potato in a nice sunny spot near the window and watch the roots start to grow in about three weeks. Once the roots form it is ready to plant in the ground.
Pineapple: You can grow a pineapple by planting the top of your scrap pineapple. Once you have removed the top you need to peel away about 1/2 in. of the leaves at the bottom of the stalk. Next you need to trim the bottom and sides of the stalk till you see little brown dots around the rim. This is where your roots will come from. Now you need to let the pineapple dry for two days to prevent it from rotting. Then place the pineapp.e top into a bowl of plain water. Remember to change the water every 2 days. Once you see lots of roots growing it's time to plant the top in a pot that drains well with about 9 inches of soil. They grow slow, but soon you will have a healthy pinapple bush that one day, a couple of years from now, will produce a pinapple.
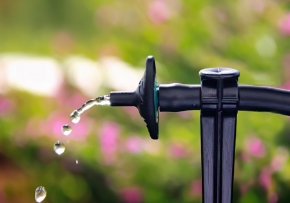
I hope you have enjoyed our blog. Good luck growing your scraps. We would love to hear about your experience on our Mister Landscaper Facebook Page. If you enjoyed this blog and want to learn about other scraps you can grow do a search on google.com for "plants you can plant from scraps". And as always, Mister Landscaper the best way to irrigate all of you fruits and vegetables.
Thanks for reading, and have an awesome week.