


30 Mar 2015
Conserve Water This Summer
Are you looking for ways to conserve water?
The hot summer months are near.
Warm weather usually is a recipe for more water usage.
People are washing cars, filling pools, watering gardens and more.
Conserving water has been best practice in most regions.
Conserving water can not only reduce pollution in lakes and streems,
it can also save you money on your utility bill.

Below you will find a few ways to help you conserve water.
Put a layer of multch around trees and plants.
- This slows evaporation of moisture.
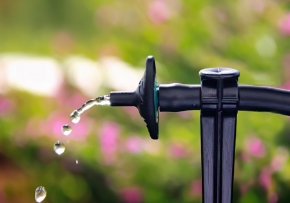
Water your garden only when it needs it.
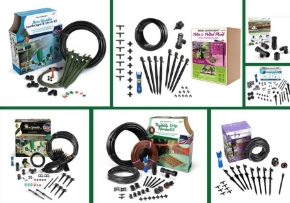
- Mister Landscaper's DIY Low-Flow Irrigation for the garden and potted plants can help with this.
- Mister Landscaper also sells a timer so you can control when your garden is watered while you are away.
don't run the hose while washing your car.
- Water your garden in the morning.
- This reduces evaporation and prevents fungus from growing.

Use a broom not a hose to clean the driveway.
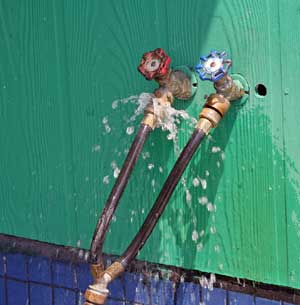
Check for leaks in hoses and pipes.
- A leaking faucet can loss 20 gallons of water a day.
Use a water meter to check for hidden leaks.
- Read the meeter two hours before and after water usage.
Put water boosters in the back of your toilet.
Use a small bottle with rocks in it to save 10 or more gallons a day. Keep bottle away from operating tools.

